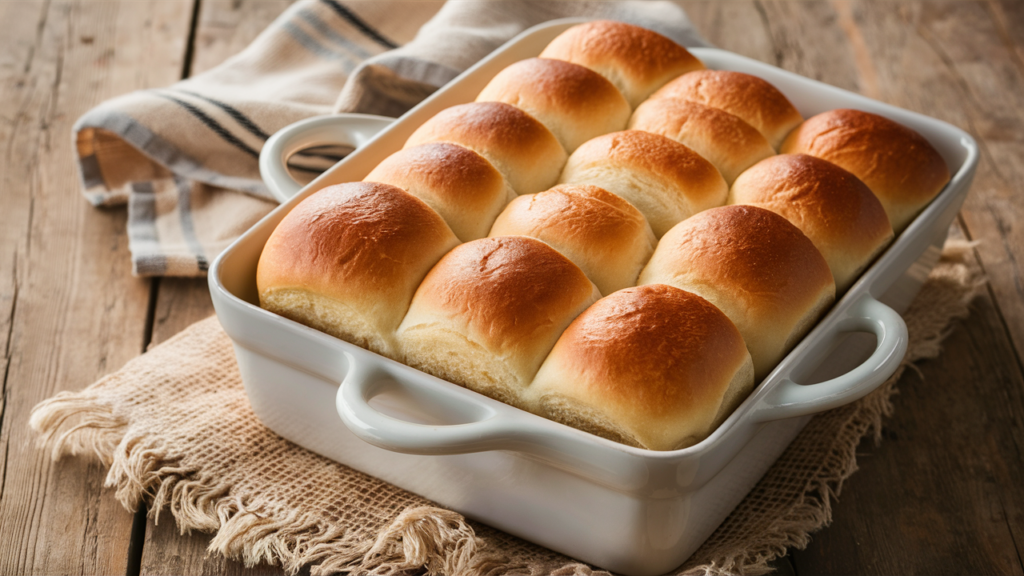
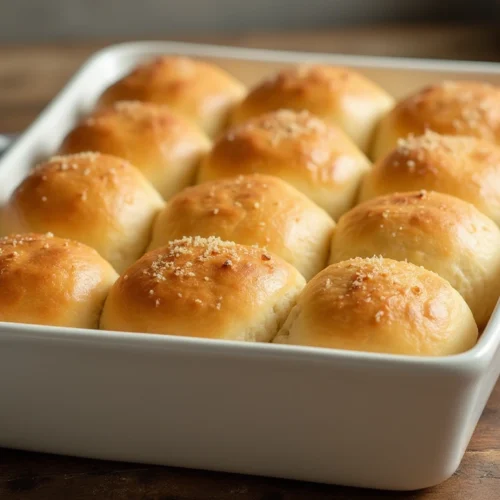
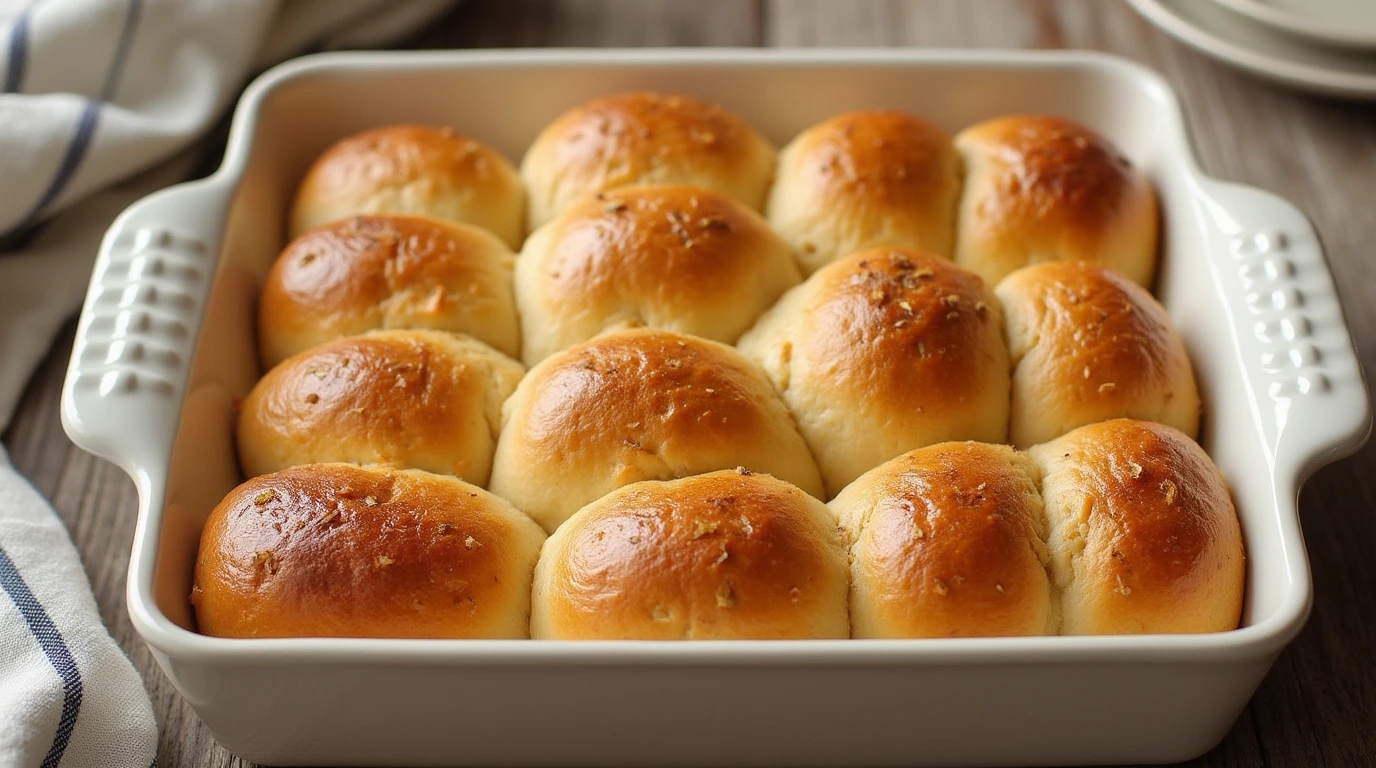
Imagine the smell of fresh, homemade sourdough rolls filling your kitchen—warm, inviting, and full of comfort. There’s a unique satisfaction that comes from making these soft rolls by hand, watching as they rise, and finally pulling them from the oven, golden and irresistible. With a tender crumb, a subtle tang, and a touch of sweetness, these sourdough dinner rolls are more than just bread; they’re an experience.
Whether you’re new to baking or have a bit of experience, this recipe is designed to be approachable and foolproof. We’ll walk you through each stage, from feeding your sourdough starter to shaping, proofing, and baking the rolls. Let’s dive into this beautiful process, and before long, you’ll have a tray of pillowy sourdough dinner rolls to serve alongside any meal.
Discover even more tasty dinner recipes in our Dinner Category!
Table of Contents
Why You’ll Love These Sourdough Dinner Rolls
What makes these sourdough dinner rolls so unique? Here are a few reasons they’ll quickly become a staple in your kitchen:
- Fluffy Texture: These rolls are soft and airy inside, with a slight chew on the crust, offering the perfect texture.
- Balanced Flavor: Thanks to the natural fermentation process, the rolls develop a mild tang that complements both savory and sweet meals.
- Simple Ingredients: No need for fancy ingredients—this recipe uses pantry staples and a sourdough starter.
- Versatile Side Dish: They pair beautifully with soups, stews, roasts, or even on their own with a pat of butter.
- Make-Ahead Friendly: The recipe includes tips for making the dough ahead of time so you can bake fresh rolls whenever you like.

Homemade bread is not only more flavorful than store-bought options, but sourdough has unique benefits due to the fermentation process, making these rolls a wholesome choice for any meal. Let’s start with what you’ll need.
Critical Ingredients for Soft Sourdough Rolls
Each ingredient plays an essential role in creating the perfect sourdough dinner roll. Here’s what you’ll need:
| Ingredient | Quantity | Purpose in Recipe |
|---|---|---|
| Active Sourdough Starter | 1/2 cup | Adds natural leavening and flavor |
| All-Purpose Flour | 3 cups | Provides structure and elasticity |
| Warm Water | 1 cup | Hydrates the dough and helps activate the starter |
| Honey | 2 tbsp | Balances the tanginess with a hint of sweetness |
| Salt | 1 tsp | Enhances flavor and regulates fermentation |
| Softened Butter | 4 tbsp | Adds richness and makes the crumb tender |
The quality of your ingredients matters, especially when it comes to flour and butter. A good quality, unbleached all-purpose flour works best, and using unsalted butter allows you to control the salt content of your rolls.
Step-by-Step Instructions for Perfect Sourdough Rolls
From mixing the dough to baking, here’s a detailed breakdown of each step to ensure you achieve soft, fluffy rolls with that signature sourdough flavor.
Step 1: Preparing the Sourdough Starter
To get a strong rise and a good sourdough flavor, make sure your starter is active and bubbly before you begin.
- Feed Your Starter: About 6-8 hours before making the dough, feed your starter by adding equal parts flour and water to it. Mix well and let it sit at room temperature.
- Check for Readiness: The starter should double in size, appear bubbly, and have a tangy aroma. If it’s sluggish, give it more time, or try warming your kitchen slightly.
Pro Tip: If your starter floats when you drop a bit in the water, it’s ready to use!
Step 2: Mixing the Dough
The mixing stage is crucial for developing gluten and ensuring the rolls have a soft, cohesive structure.
- Combine Ingredients: In a large bowl, add the active sourdough starter, warm water, honey, and salt. Stir to combine.
- Gradually Add Flour: Add the flour one cup at a time, stirring after each addition. When it begins to form a shaggy dough, transfer it to a floured surface.
- Knead in Butter: Add softened butter to the dough in small pieces, kneading it in until the dough is smooth and elastic. This can take 8-10 minutes of kneading by hand.
The dough should be soft, stretchy, and only slightly sticky. If it’s too sticky, add a little more flour; if it’s too dry, a splash of water will help.
Step 3: Bulk Fermentation (First Rise)
Bulk fermentation allows the dough to develop flavor and volume.
- Transfer to a Greased Bowl: Place the dough in a large, greased bowl and cover it with a damp cloth or plastic wrap.
- Let It Rise: Allow the dough to rise for 4-6 hours at room temperature, or until it has doubled in size. The time will vary depending on the temperature of your kitchen and the strength of your starter.
Pro Tip: For a more pronounced sourdough flavor, let the dough rise in the fridge overnight.
Step 4: Shaping the Rolls
Shaping is an enjoyable step and helps the rolls achieve a consistent, bakery-style look.
- Divide the Dough: Turn the dough onto a floured surface and divide it into 12 equal portions for medium rolls, or 8 for larger rolls.
- Shape Each Roll: Roll each portion into a smooth ball by tucking the edges under, creating surface tension on top.
- Arrange in a Pan: Place each ball into a greased baking dish or sheet pan, leaving a small gap between each roll to allow for expansion.
Second Rise: Final Proofing for Light and Airy Rolls
The second rise (or final proof) is essential for achieving that light, airy texture.
- Cover and Let Rise: Cover the pan with a cloth or plastic wrap and let the rolls rise for 1-2 hours at room temperature, or until they are puffy and touching each other.
- Prepare for Baking: During the last 30 minutes of proofing, preheat your oven to 375°F (190°C).
This step allows the yeast and bacteria in the sourdough starter to work their magic, creating tiny air pockets for that pillowy texture.
Baking the Rolls
The baking stage is where the rolls gain their golden-brown crust and full flavor.
- Bake: Place the rolls in the preheated oven and bake for 20-25 minutes, or until they are golden brown on top and sound hollow when tapped.
- Optional Butter Brush: For a soft, glossy crust, brush the tops with melted butter as soon as they come out of the oven.
Allow the rolls to cool slightly before serving to let the interior set. Now, your home will smell divine, and you’ll have a batch of fluffy, perfectly golden sourdough rolls ready to enjoy!
Tips for the Best Sourdough Rolls
- Use a Strong Starter: Ensure your starter is active and bubbly to get the best rise and flavor.
- Adjust Proofing Time: Cooler kitchens may require longer proofing times. Don’t rush the rise; patience is key.
- Keep It Warm: If your kitchen is cool, try proofing the dough in a warm, draft-free area to speed up fermentation.
- Create a Soft Crust: Brushing the rolls with butter immediately after baking softens the crust and adds a rich flavor.
Recipe Variations to Try
Feeling creative? Here are a few fun variations for sourdough dinner rolls:
- Herb and Garlic Sourdough Rolls: Add chopped rosemary, thyme, or garlic powder to the dough for a savory twist.
- Cheddar Sourdough Rolls: Fold in grated cheddar cheese for a deliciously cheesy version.
- Sweet Cinnamon Sourdough Rolls: Add a teaspoon of cinnamon and a touch of extra honey for slightly sweet, breakfast-friendly rolls.
Serving Suggestions
Sourdough dinner rolls are versatile and can be enjoyed in many ways. Here are a few ideas:
- As a Side: Serve with soups, salads, or any main course for a comforting meal.
- Breakfast Delight: Slice in half and spread with butter or jam for a tasty breakfast treat.
- Mini Sandwiches: Use these rolls as mini buns for sliders or breakfast sandwiches.
Storing and Reheating Sourdough Rolls
To keep your rolls fresh, follow these storage tips:
- Room Temperature: Store rolls in an airtight container at room temperature for up to 3 days.
- Freezing: Freeze rolls in a zip-top bag for up to 3 months. Let them thaw at room temperature to serve and reheat in the oven.
To reheat, wrap the rolls in foil and warm them in a 350°F (175°C) oven for 10-15 minutes.
FAQ:
Q: Can I make sourdough rolls without a starter?
A: Traditional sourdough rolls require a starter. However, if you don’t have one, try a yeast-based dinner roll recipe.
Q: Why are my rolls dense?
A: Dense rolls could mean your starter wasn’t active enough or the dough didn’t rise long enough. Ensure both your starter and dough have enough time to proof.
Q: Can I add other ingredients to the dough?
A: Yes! You can experiment with herbs, cheese, seeds, or spices to create unique flavor variations.
Conclusion: Savor the Joy of Homemade Sourdough Rolls
Homemade sourdough dinner rolls are a joy to make and share. Whether serving them for a holiday feast or enjoying a quiet meal at home, these rolls bring warmth and satisfaction to any table. With a bit of patience and love, you’ll master the art of sourdough rolls in no time. Enjoy!
Ready to bake your sourdough dinner rolls? Try this recipe, and let us know how it turned out! If you loved it, don’t

Sourdough Dinner Rolls
Equipment
- 1 Mixing bowl
- 1 Wooden spoon
- 1 Baking tray
- 1 Parchment paper
- 1 Kitchen scale Optional, for precise measurements
Ingredients
- 1/2 Cup active sourdough starter
- 3/4 Cup warm milk
- 2 Tbsp melted butter Plus extra for brushing
- 2 Tbsp sugar
- 1 Tbsp salt
- 2 to 3 Cups all-purpose flour
Instructions
- Combine Ingredients: In a large bowl, mix together the sourdough starter, warm milk, melted butter, sugar, and salt.
- Add Flour and Knead: Gradually add the flour, mixing until a soft, sticky dough forms. Knead the dough until it becomes smooth and elastic, about 5-7 minutes.
- First Rise: Cover the bowl and let the dough rise in a warm spot for 4-6 hours, or until doubled in size.
- Shape Rolls: Punch down the dough, divide it into 12 equal portions, and shape each into a ball. Place the rolls on a parchment-lined baking tray, spaced slightly apart.
- Second Rise: Cover the tray and let the rolls rise again until puffy, about 1-2 hours.
- Bake: Preheat the oven to 375°F (190°C). Brush the tops of the rolls with melted butter, then bake for 20-25 minutes, or until golden brown.
- Serve: Brush with additional melted butter, if desired, and serve warm. Enjoy!
Notes
- Starter Strength: Use an active, bubbly sourdough starter to ensure the best rise and flavor. Feed your starter 4-6 hours before starting if it hasn’t been recently fed.
- Adjust Flour as Needed: The dough should be soft and slightly sticky, but if it’s too sticky to handle, add a tablespoon of flour at a time until manageable.
- Rising Time: Rising times may vary based on room temperature. A warm spot will speed up rising, while a cooler environment will slow it down.
- Overnight Option: For convenience, you can let the first rise happen overnight in the refrigerator. This slow ferment can enhance the flavor.
- Baking Tip: For extra-soft tops, cover the rolls loosely with foil halfway through baking if they’re browning too quickly.
- Serving: Brush the tops with additional melted butter after baking for an extra buttery flavor and to keep the crust soft.
- Storing: These rolls keep well in an airtight container at room temperature for 1-2 days. For longer storage, freeze and reheat in the oven.

