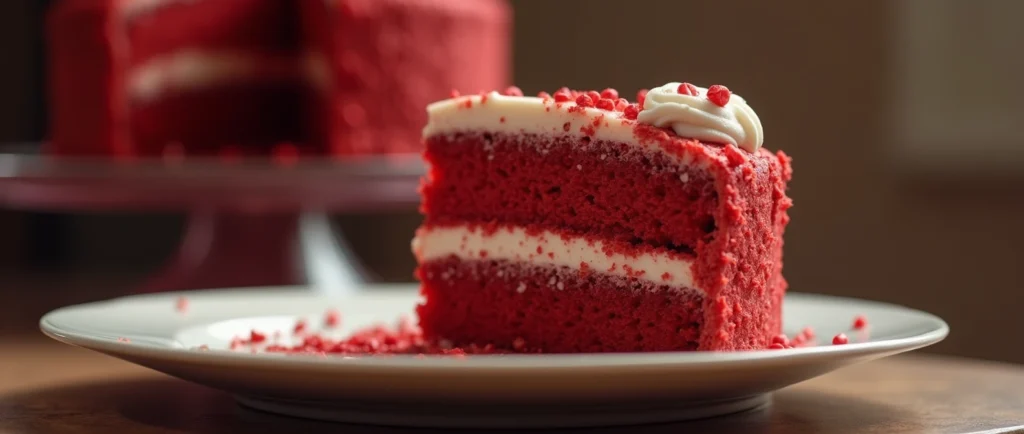
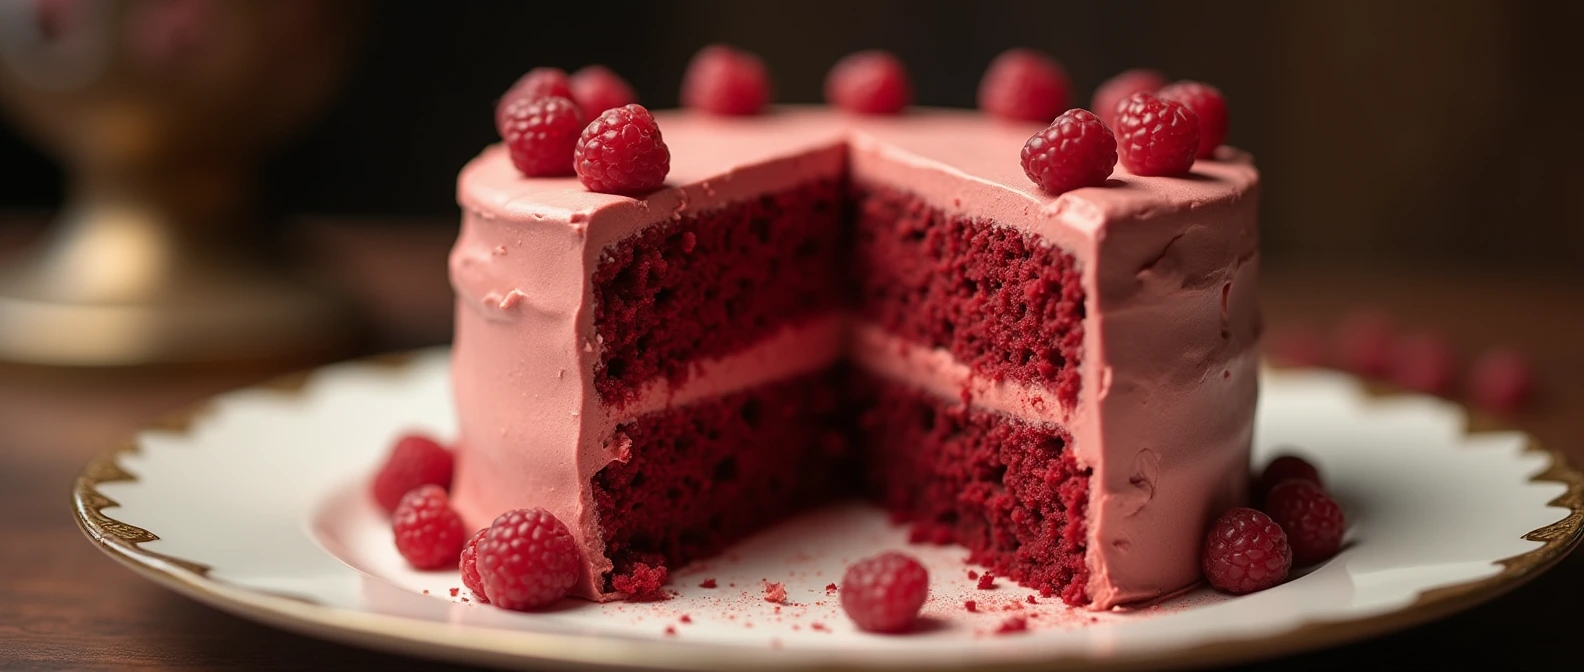
Red velvet cake has a special place in the hearts of dessert lovers everywhere. With its rich color, subtle chocolatey flavor, and tangy cream cheese frosting, this cake is perfect for birthdays, holidays, or anytime you want to serve something stunning. Imagine cutting into those soft, tender layers, revealing a striking red interior that pairs beautifully with velvety white frosting. Let’s walk through the steps to make the perfect red velvet cake from scratch, along with tips for achieving the best taste and texture.
Explore more delicious Dessert recipes in our Dessert Category.
Table of Contents
What Makes Red Velvet Cake Unique
A Brief History and Its Unique Features
Unlike standard chocolate cakes, red velvet has a distinct blend of ingredients that sets it apart. This cake’s origins trace back to the early 1900s, though it gained popularity in the South, becoming a holiday staple in many homes. The key to its unique flavor lies in the combination of cocoa powder, buttermilk, and vinegar, which create a slight tanginess and a hint of chocolate flavor. This balance of sweetness, richness, and acidity is what makes red velvet so delicious and memorable.
The Signature Red Color
While it’s possible to make red velvet cake without food coloring, the vibrant red hue is iconic. Traditionally, the red color resulted from a reaction between acidic ingredients and cocoa powder, though most modern recipes use food coloring for a more striking effect.

Essential Ingredients for Red Velvet Cake
To make a successful red velvet cake, start with quality ingredients. Here’s a breakdown of what you’ll need:
| Ingredient | Purpose |
|---|---|
| Cake Flour | Creates a tender, soft crumb |
| Cocoa Powder | Adds a hint of chocolate flavor |
| Buttermilk | Adds moisture and tang |
| White Vinegar | Works with baking soda to create a light texture |
| Red Food Coloring | Provides the signature red hue |
| Cream Cheese & Butter | For a rich, smooth frosting |
| Powdered Sugar | Sweetens and thickens the frosting |
| Vanilla Extract | Enhances the cake and frosting flavors |
Ingredient Tips:
- Use cake flour for a soft, airy texture.
- Choose a high-quality cocoa powder for a richer taste.
- Ensure all ingredients are at room temperature for smoother mixing.
Step-by-Step Guide to Baking Red Velvet Cake
Preparing the Cake Batter
- Preheat and Prepare Pans: Preheat your oven to 350°F (175°C). Grease and line two 9-inch cake pans with parchment paper.
- Sift Dry Ingredients: In a bowl, sift together the cake flour, cocoa powder, baking soda, and a pinch of salt.
- Cream Butter and Sugar: In a separate bowl, beat the butter and sugar together until light and fluffy. This step is key for a tender cake.
- Add Wet Ingredients: Add the eggs one at a time, then add the vanilla extract.
- Alternate Mixing: Alternate adding the dry ingredients with the buttermilk and vinegar mixture, mixing just until combined.
Pro Tip: Avoid overmixing the batter, as it can lead to a dense, dry cake.
Achieving the Perfect Red Color
Adjust the amount of red food coloring based on your preference. Gel food coloring works best as it produces a vibrant color without altering the batter’s texture. For a natural option, try beet powder, which adds a subtle color and keeps the ingredients all-natural.
Baking the Cake Layers
- Divide the Batter: Evenly distribute the batter between the prepared pans.
- Bake: Place in the oven and bake for 25-30 minutes, or until a toothpick inserted into the center comes out clean.
- Cooling: Let the cakes cool in the pans for 10 minutes before transferring to a wire rack.
Tip: Allow the cakes to cool completely before frosting to avoid melting the cream cheese frosting.
Making the Cream Cheese Frosting
| Ingredient | Quantity |
|---|---|
| Cream Cheese (softened) | 8 oz |
| Butter (softened) | ½ cup |
| Powdered Sugar | 3 cups |
| Vanilla Extract | 1 tsp |
Instructions:
- Beat the Cream Cheese and Butter: Use a hand or stand mixer to beat the cream cheese and butter until smooth and creamy.
- Add Powdered Sugar: Gradually add powdered sugar, one cup at a time, until the frosting reaches your desired consistency.
- Add Vanilla Extract: Mix in the vanilla extract for a richer flavor.
Tip: For a thicker consistency, refrigerate the frosting for 20-30 minutes before applying it to the cake.
Assembling and Decorating Your Red Velvet Cake
Layering the Cake
- Apply a Crumb Coat: Place the first cake layer on a plate or cake stand, spread a thin layer of frosting, and chill for 10 minutes to set the crumb coat.
- Add the Layers: Place the second layer on top and cover the entire cake with a generous layer of frosting.
Frosting the Exterior
Smooth the frosting on the sides and top of the cake with a spatula. For a rustic look, create decorative swirls by swirling the spatula in small circles.
Garnishing Ideas
- Red Velvet Crumbs: Crumble any leftover cake trimmings and sprinkle them around the edges or sides.
- Chocolate Shavings: Add dark or white chocolate curls for an elegant finish.
- Edible Flowers: Garnish with small edible flowers for a striking contrast.
Expert Tips for a Perfect Red Velvet Cake
- Balance Acidity and Sweetness: Use fresh buttermilk for the right balance of tanginess, and avoid oversweetening the batter.
- Keep It Moist: Wrap the cake layers in plastic wrap while cooling to retain moisture.
- Prevent Frosting Overload: Keep the frosting layer between cake layers thinner than the exterior to balance sweetness.
Frequently Asked Questions about Red Velvet Cake
Q: Can I make red velvet cake without food coloring?
A: Yes! You can achieve a natural red hue by using beet powder.
Q: How should I store red velvet cake?
A: Store the cake in an airtight container in the fridge for up to four days.
Q: Can I make red velvet cupcakes instead?
A: Absolutely! Divide the batter into cupcake liners and bake for 18-20 minutes.
Q: Why is vinegar used in red velvet cake?
A: The vinegar reacts with baking soda to create a tender, fluffy texture.
Conclusion
Creating the perfect red velvet cake may take a few extra steps, but the payoff is a show-stopping dessert that’s worth the effort. With a balance of tangy, sweet flavors and a beautiful presentation, this cake is sure to be a favorite. Now that you have the recipe, it’s time to preheat the oven and start baking your very own red velvet masterpiece. Enjoy every delicious bite!
Try this red velvet cake recipe and share your creation! Let us know your tips and tricks in the comments, and don’t forget to snap a photo. Happy baking!

